Upgrade the Crosman 1322 for More Power
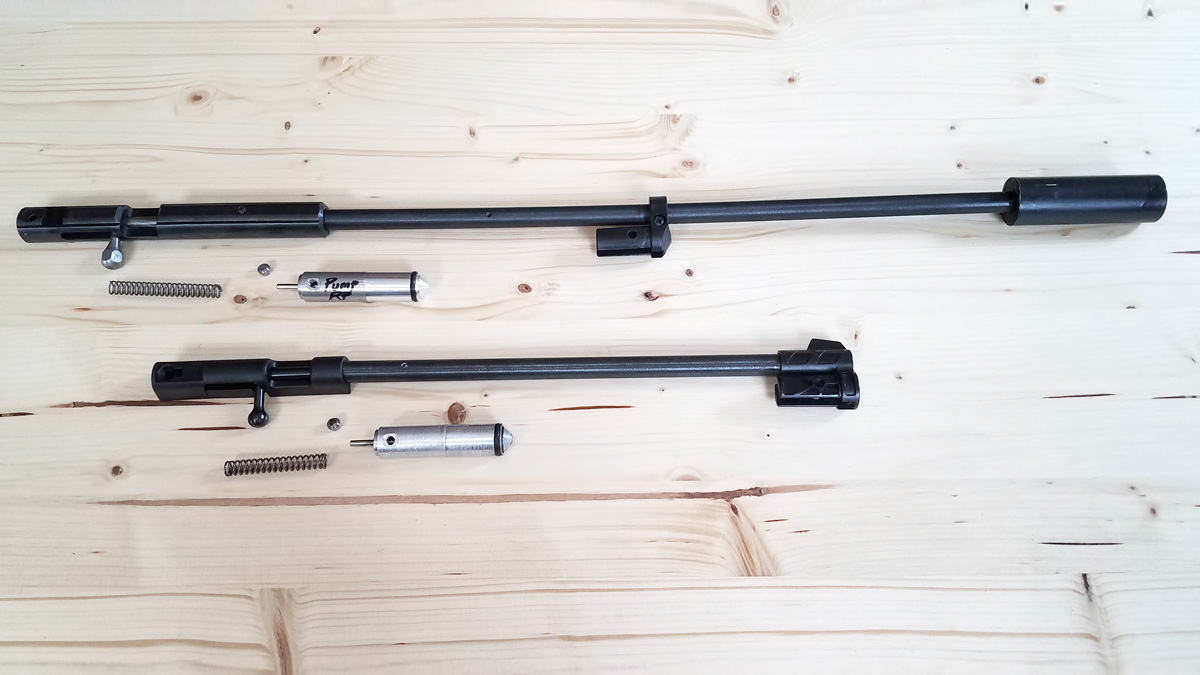
Photo Credit: Keith Knoxsville
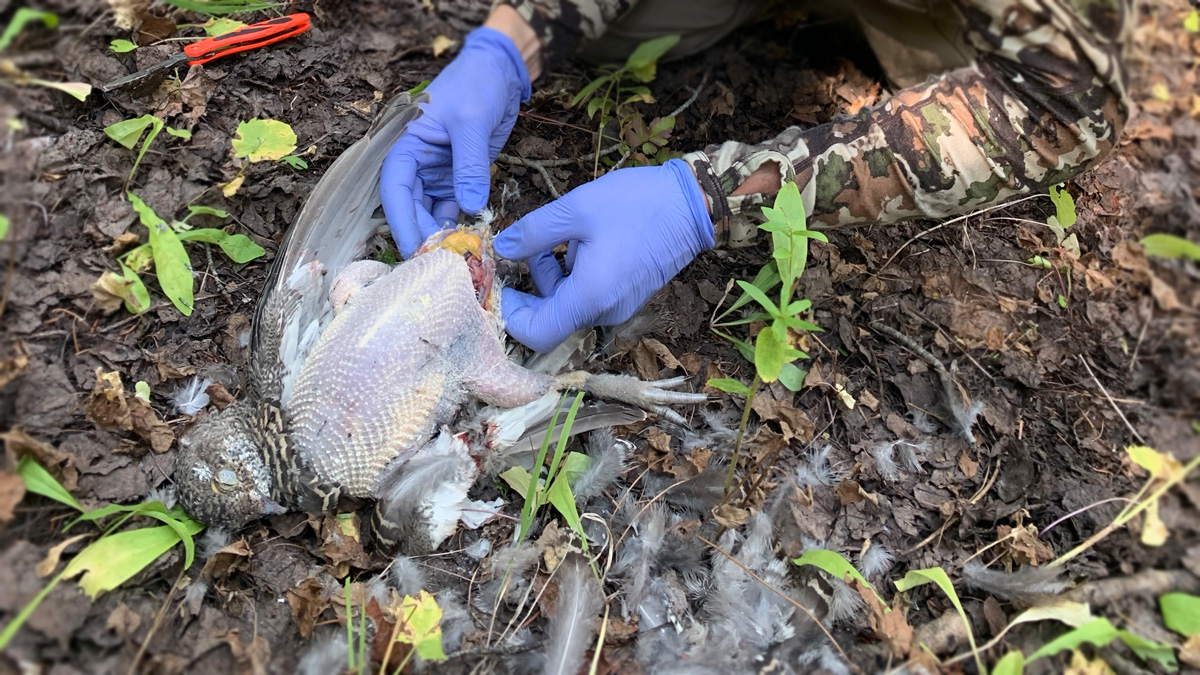
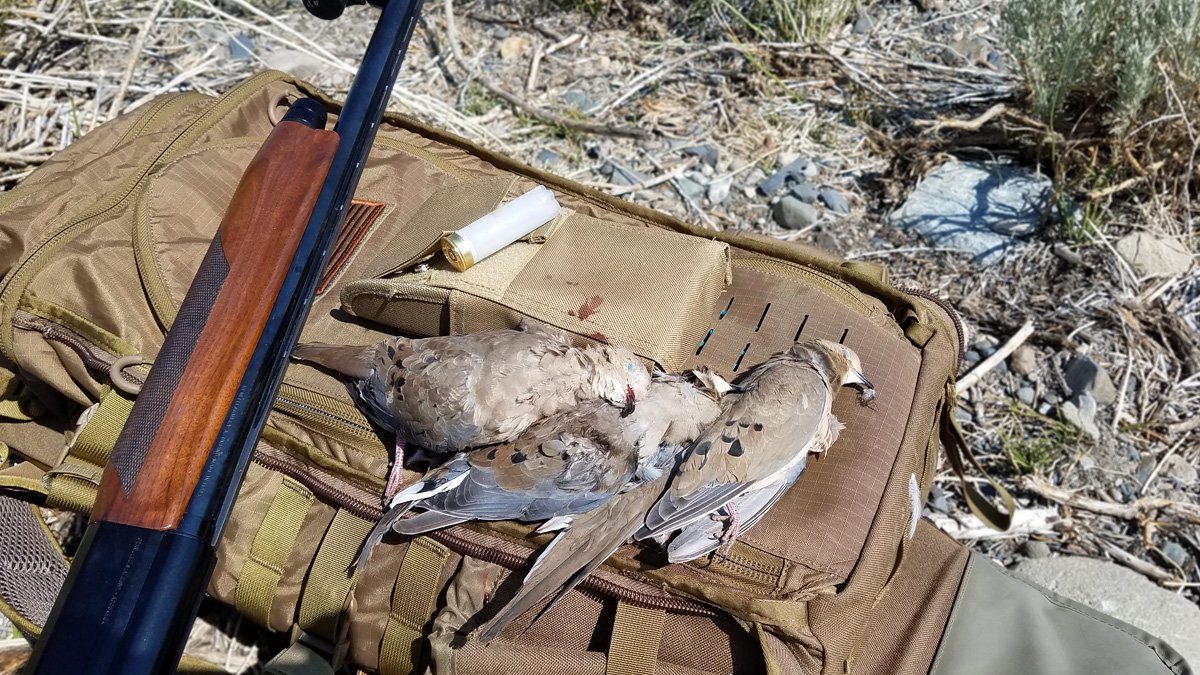
A Hen and a Drake Green Teal on the truck bed. Not a limit on anything, but a fun morning out.
So you bought a Crosman 1322 or 1377, and like every other 13xx owner, you want to modify it for greater power, accuracy, or performance. Fortunately, the P13xx series of air guns lend themselves to a lot of mods, and while everyone has their own take on which mods and drop-in parts work best, we’ll give you our honest take on reliably getting a stock 1322 from 460 fps to over 600 FPS.
TL;DR
No time to read, no problem!
This is for a 1322! Buy a
steel breech,
extended barrel and
barrel band,
Alchemy AirWerks RP Pump Valve Kit. Teardown and install all parts, be sure to lubricate parts with a silicone-based lubricant. The RP Pump Valve kit will include a bigger transfer port, and heavier hammer spring to replace the originals. Add an optic, sight in, go knock down some squirrels.
We’ve got a few articles on power mods, and even some accuracy tips, but we constantly get questions and are asked about the following topics, “Should I do a Crosman 1322 barrel upgrade?”, “What is the Crosman 1322 maximum power?”, “Is the Crosman 1322 good for hunting?”, “What power mods…?”, “14 inch barrel FPS…?”. The questions are endless, and although it feels repetitive, we put together this article with comparison photos, and even a slow motion video of the impact energy of an upgraded 1322, for those that want more power from a Crosman 1322, and don’t have a machine shop.
We focus on the Crosman 1322 because we prefer a .22 caliber for airgun hunting of small game, but our how-to guide also works the same for the Crosman 1377.
Upgrading the stock 13xx with our recommendations will add $150 in cost to the stock 13xx. At around $200 it is easy to start considering an entry-level PCP. However, the 13xx can perform like a PCP, while still remaining usable and reliable in the backcountry, or anywhere a heavy pump can’t easily go. The Crosman 13xx models of air guns have been a go-to air gun since the late seventies for good reason. They are easy to modify, they are accurate, and they are reliable. While it’s very easy to go down the rabbit hole with mods, our base recommendations will turn your stock 13xx into a very effective small game hunting air gun, or high-performance plinker. You will likely get in excess of 12 foot-pounds of energy from these upgrades. That is more than enough energy to dispatch a lot of small game, within reasonable distances. It’s also enough energy to punch holes through 1/4″ plywood, and softer 3/4″ pine boards. Check with your own city, region, state, or countries regulations to make sure you haven’t broken the law with the increased power, as many countries regulate an air gun as a firearm if it exceeds a specific threshold.
Upgrading with a steel breech, new barrel, and barrel band will remove the OEM fixed sights. We recommend a low-power optic, but there are many optic and fixed sight options, with a wide range of costs. We’ll make recommendations, but it’s not the focus of the upgrades.
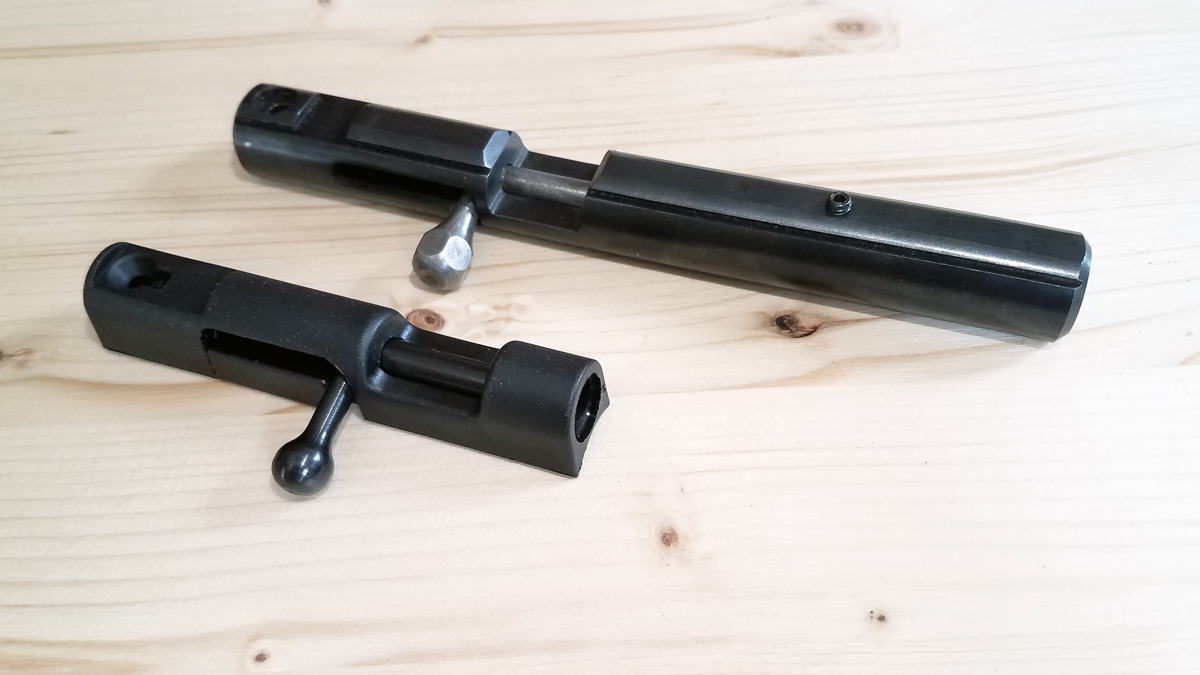
Step 1: Upgrade the Breech
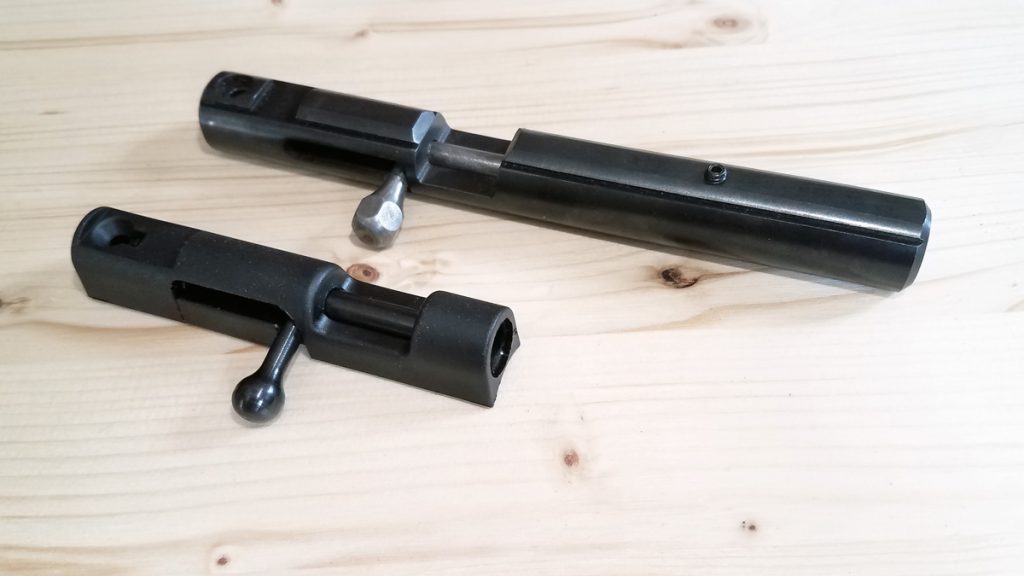
The stock Crosman 13xx breech next to an upgraded steel breech.
If you want more power and performance from your 13xx, then swapping the stock composite plastic breech with a stronger steel breech is a must. It increases strength and rigidity, and provides a more stable base for mounting optics, but also holds an upgraded barrel in place much better than you could with a stock breech.
Buy a 1377 Steel Breech
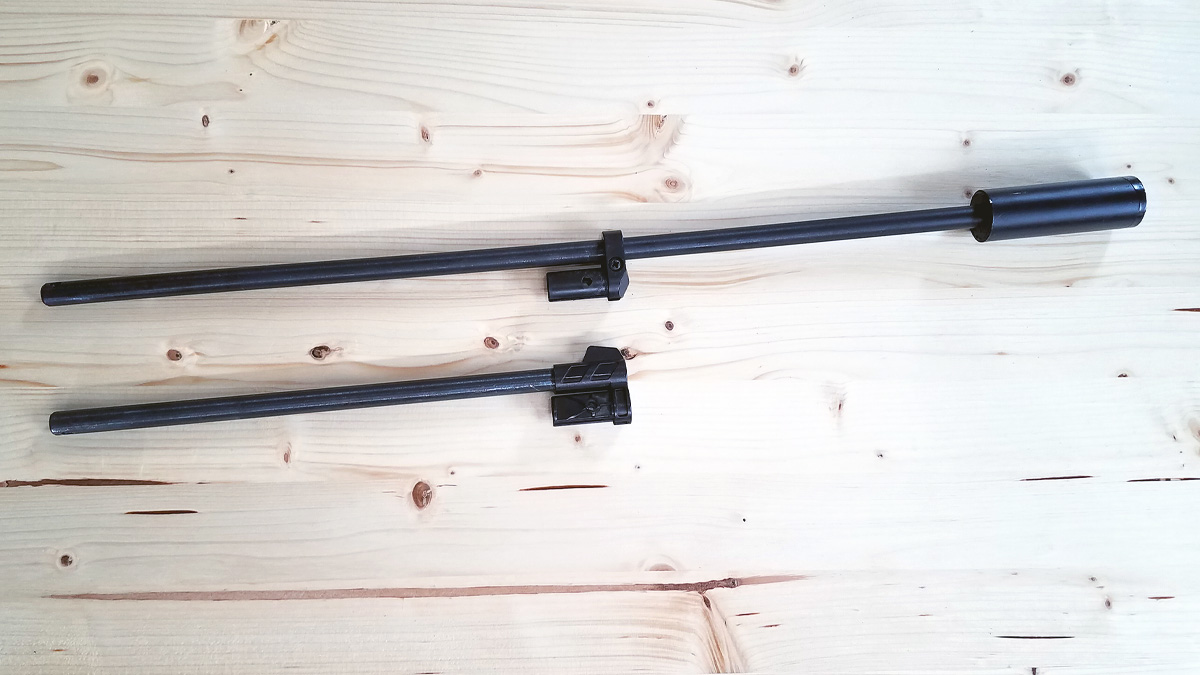
Step 2: Upgrade the Barrel and Barrel Band
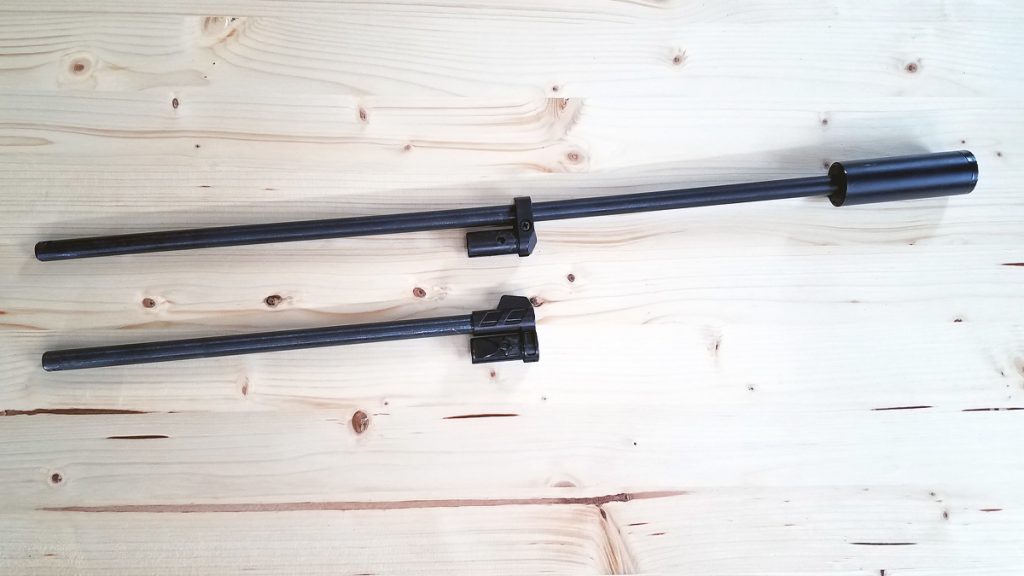
The stock 10 inch barrel and barrel band next to an 18 inch barrel, and more rigid barrel band.
Upgrading a barrel can mean simply changing it for a high precision one, crowning it for increased accuracy, or increasing length for greater velocity, and power. Our upgrade focuses on barrel length. We upgrade the stock 10.1” barrel with an 18” barrel.
Generally speaking, every inch of increased barrel length will increase velocity 10 fps. There is a diminishing return at a certain length, and so the longest 1322 barrels are usually no more than 24 inches. To take advantage of a barrel longer than 14.5 inches, you’ll want to increase your valve volume, and transfer port size.
Buy a 1322 Barrel Band
Buy a 1322 18 inch Barrel
Buy a 1377 Barrel Band
Buy a 1377 18 inch Barrel
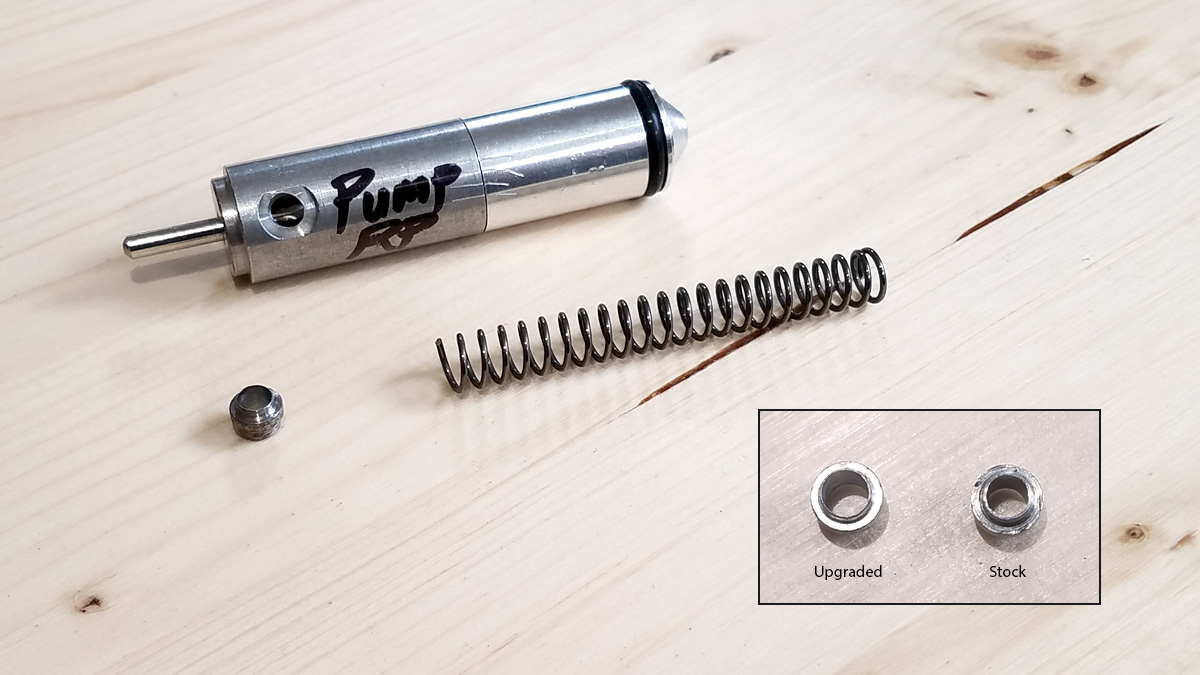
Step 3: Upgrade the Piston / Valve / Transfer Port
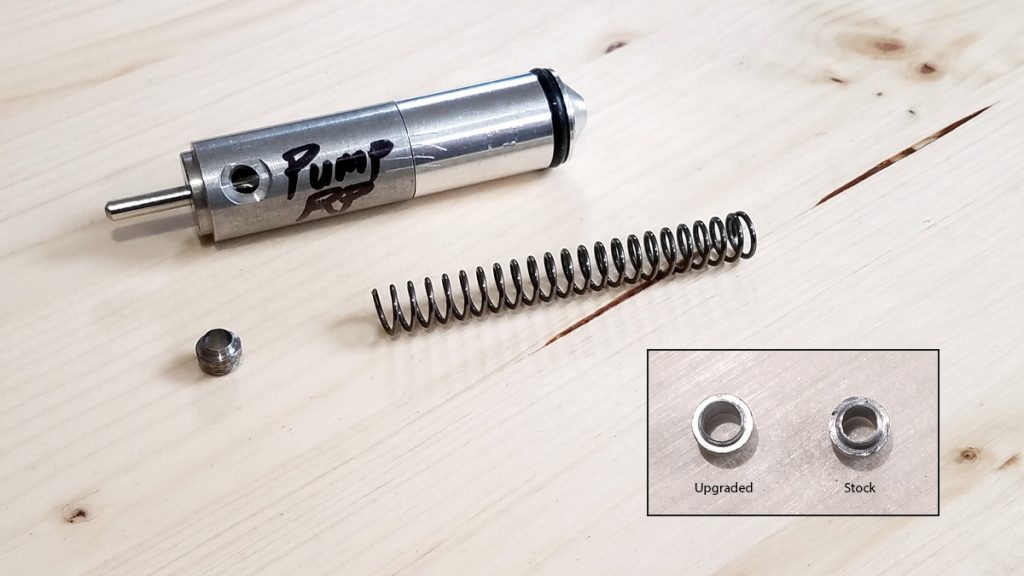
The Alchemy AirWerks RP Pump, heavier hammer spring, and larger inner diameter transfer port.
Upgrading the piston, pump, and transfer port on the 13xx series of air guns increases overall power and performance. A larger volume of air, as well as increased and more rapid airflow into the barrel, pushes a pellet with greater pressure, resulting in greater velocity and power.
We have done our own valve mods, but the easiest and most reliable all-in-one mod kit we have found and used is the AlchemyAirWerks Pump RP Valve SuperPack. It includes a Pump RP Valve, Power Hammer Spring and a Transfer Port with 25% greater airflow.
The RP Valve increases air volume, so it increases the stored energy. It does however require more pumping to fill the larger volume of air to the same pressure as a smaller volume of air. The combination of a better valve, hammer spring, and a transfer port that allows greater airflow, address the fundamentals for increasing power and performance.
The RP Valve is a great alternative to a more expensive flat-top piston mod, which only improves pumping efficiency over the power increase provided by Pump RP Valve, but if you are feeling spendy, or just really want the increased pumping efficiency,
Buy the AlchemyAirWerks Pump RP Valve SuperPack
Step 4: Add Optics
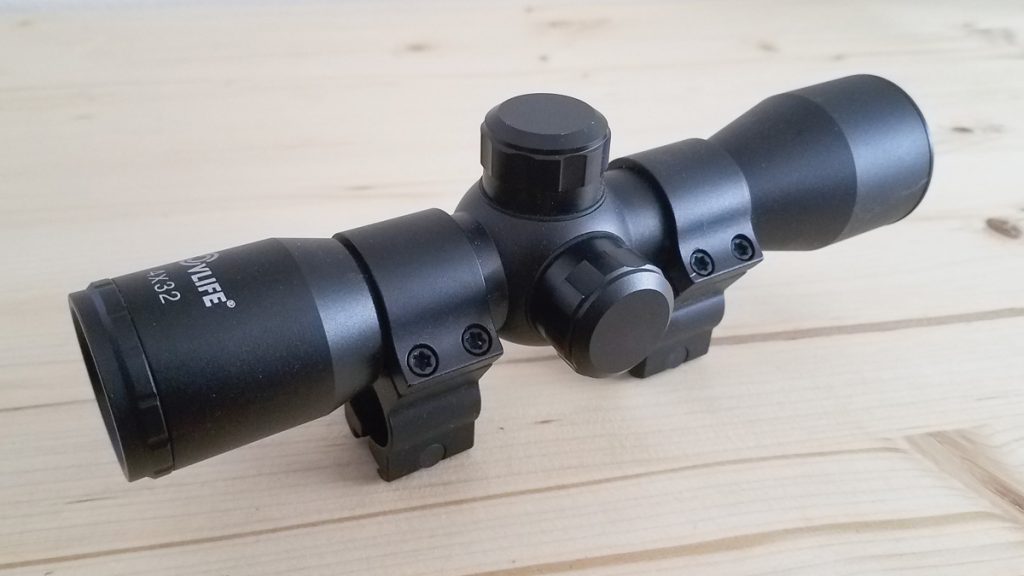
a CVLife 4X32 Compact Scope and Redfield See Through Rings, are a good combination for the 1322.
Optics are a must after upgrading a steel breech, barrel, and barrel band, but the options and costs are vast. Our affordable and reliable go-to, after a lot of experimentation, is a super affordable CVLIFE 4×32 Compact Rifle Scope, and Redfield See-Thru Dovetail rings.
A lot of airgunners seem to pair their airguns with a UTG 3-9X32 BugBuster Scope, but for a more affordable variable optic, the CVLIFE 3-9×40 Compact Rifle Scope, or Pinty 2.5-10×40 Illuminated are also good options.
Buy Redfield See-Thru Dovetail Rings
Buy a CVLIFE 4x32 Compact Rifle Scope
Buy a CVLIFE 3-9x40 Compact Rifle Scope
Buy a UTG 3-9X32 1
Buy a Pinty 2.5-10x40
Wrapping Up
A Stock 1322, Breech, Barrel, Barrel Band, and RP Valve Kit combined will set you back about two hundred dollars, but you’ll be able to reliably shoot small game with about 12 foot pounds of energy everywhere you go. You won’t need a high-pressure pump, or CO2 cartridges to use your airgun. You’ll still need to add fixed sights or an optic, which will add another thirty dollars at a minimum, but will allow you to take full advantage of the increased performance, as its max effective range on small game moves out to about 25 yards from the OEM effective range of about 10 yards. Good shot placement will even allow you to take doves, pigeons, and small pest birds at 50 yards. Don’t believe it? Check out this video. This is with a factory 10.1″ barrel, a lightly modified pump valve and transfer port, and a steel breech.
|