Is the 6.5 Grendel the perfect 250 yard hunting round?
There are plenty of nay-sayers for the AR15 pattern rifle, or modern sporting rifle, but give a modern sporting rifle chambered in 6.5 Grendel to your smaller framed wife for her deer or antelope hunt, and she’ll love the lower recoil of the round, and lighter weight of the rifle platform. She’ll never wince, and if she can hold steady, she shouldn’t miss within 250 yards.
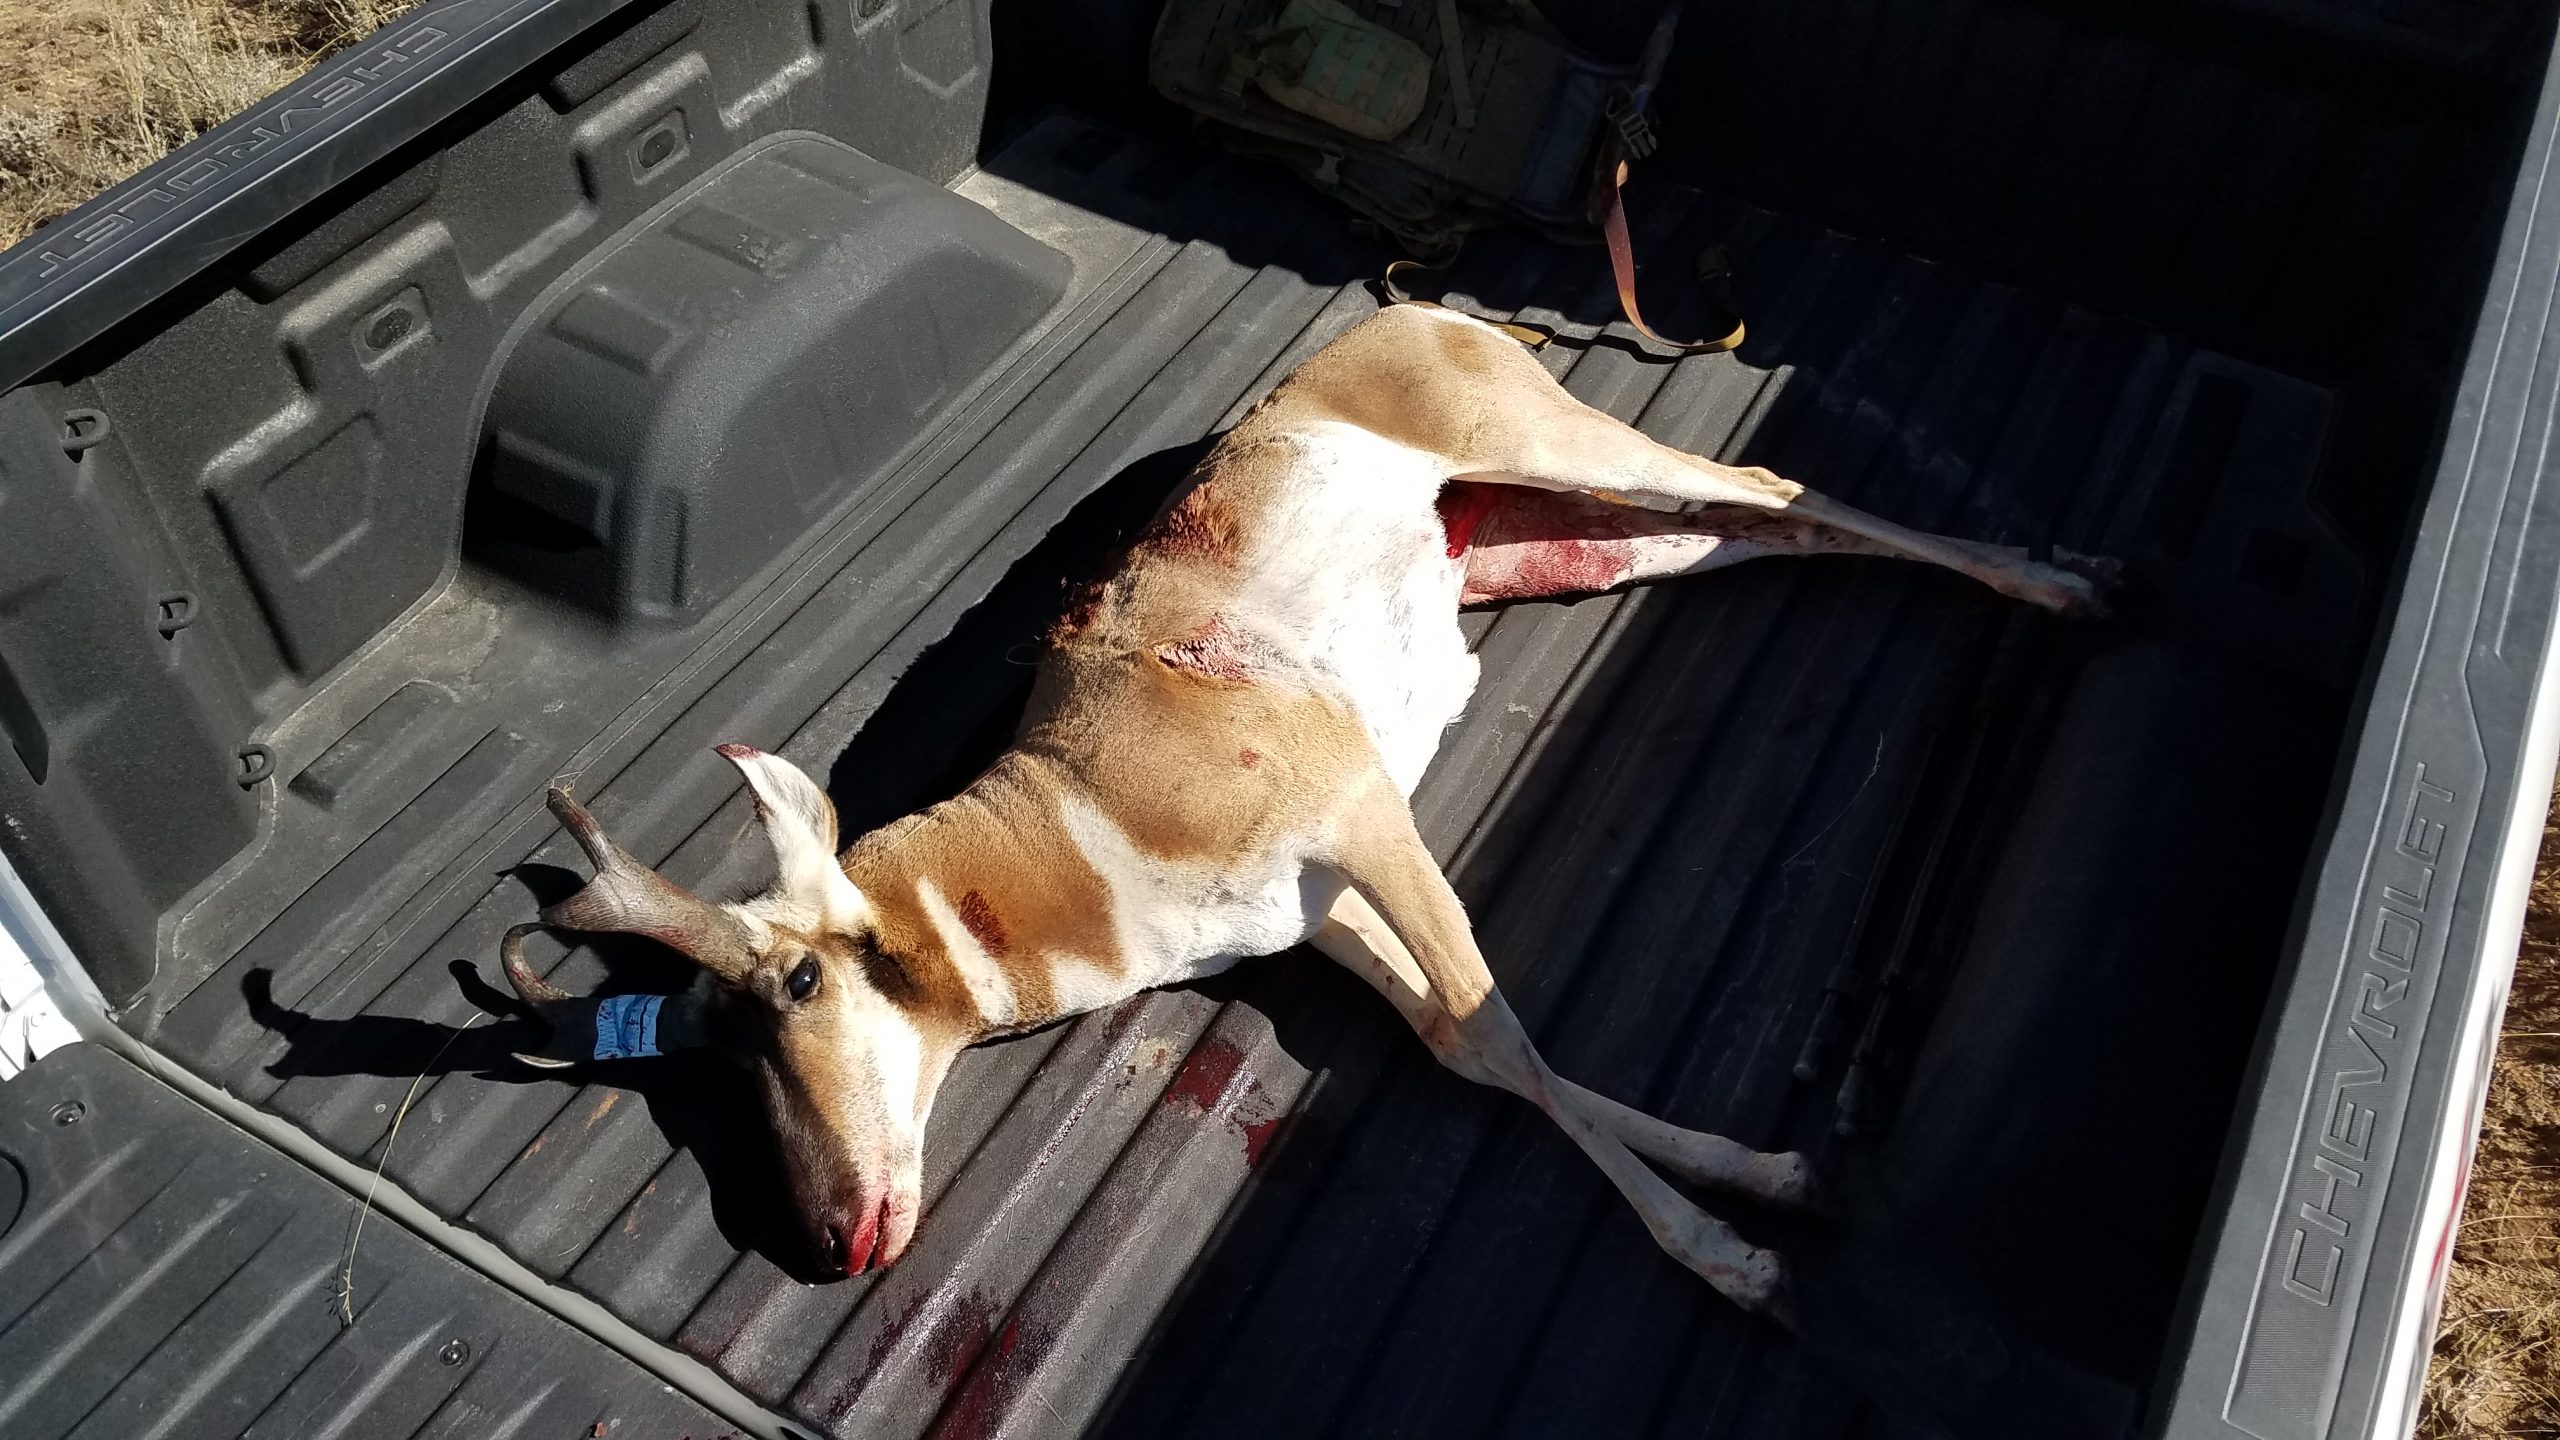
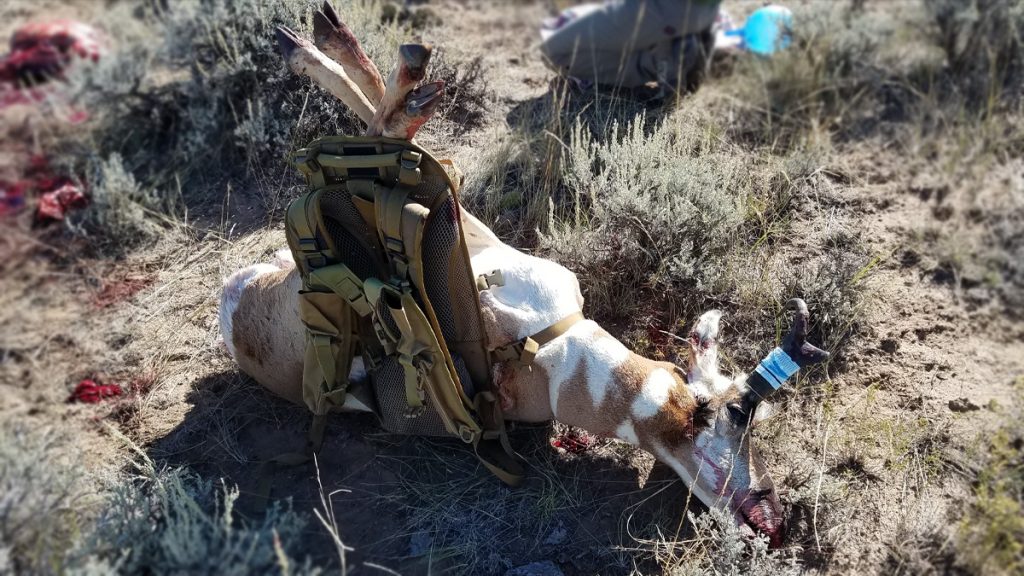
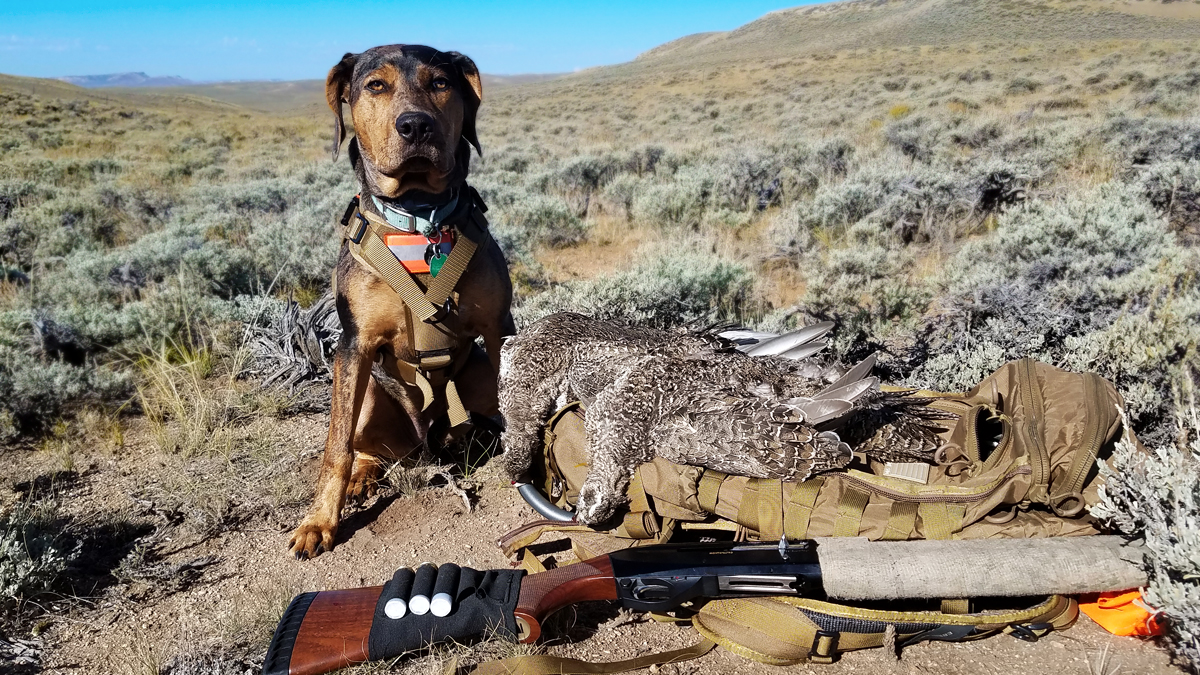
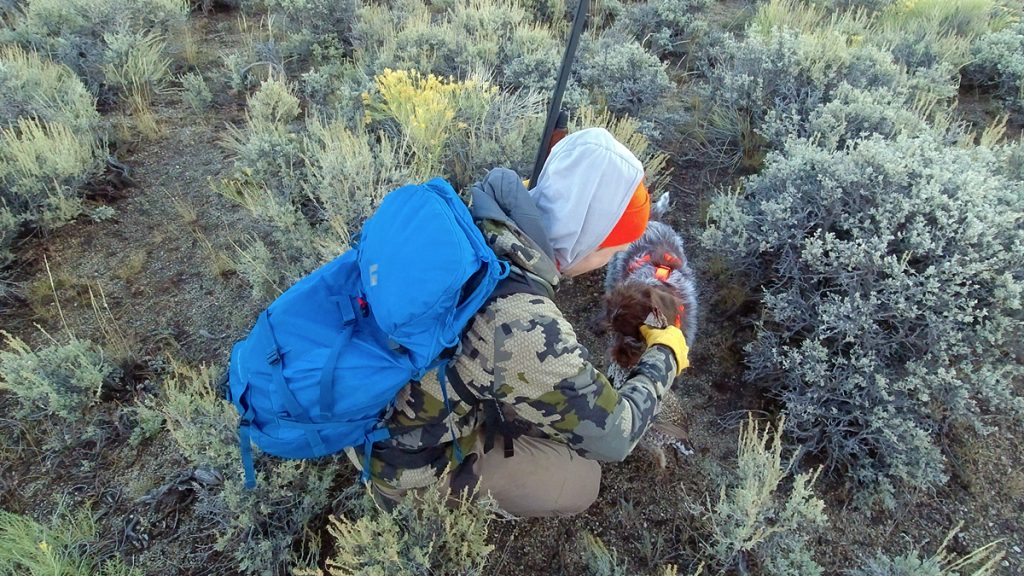
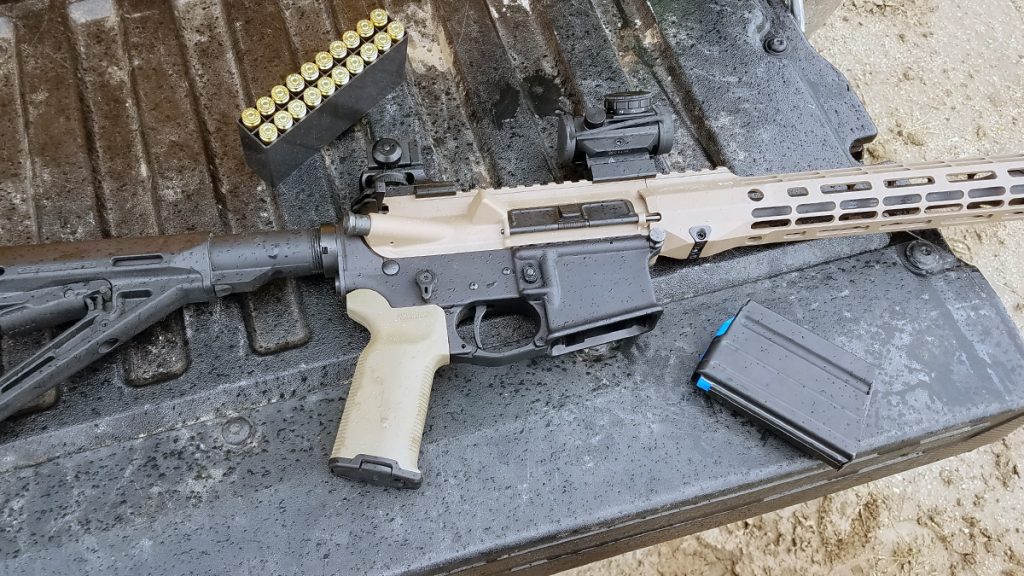
This is precisely how our recent 6.5 Grendel AR15 upper build was used. A few weeks prior to my wife’s antelope hunt she expressed concerns about making a stalk then a shot with her current, heavy, higher recoiling hunting rifle. We ended up mounting her hunting scope on the 6.5 Grendel upper, sighted it in, and had her take a few shots prior to her hunt at the range. Her confidence was immediately bolstered by the AR, and in her words “it has almost no recoil”. She took that confidence to the field, and dropped her antelope buck on opening morning with a single well placed and devastating shot. Read about her 2023 antelope hunt here.
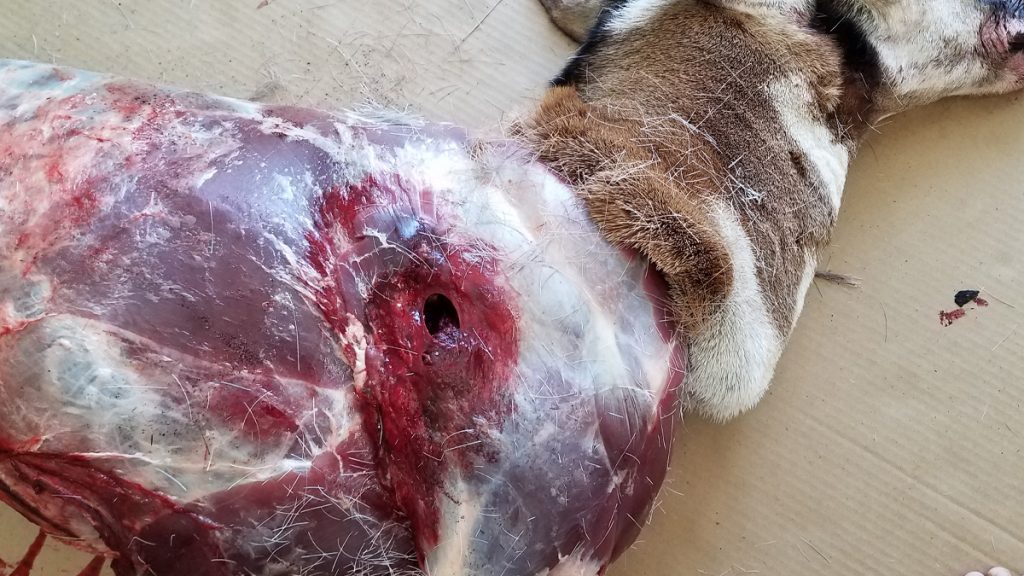
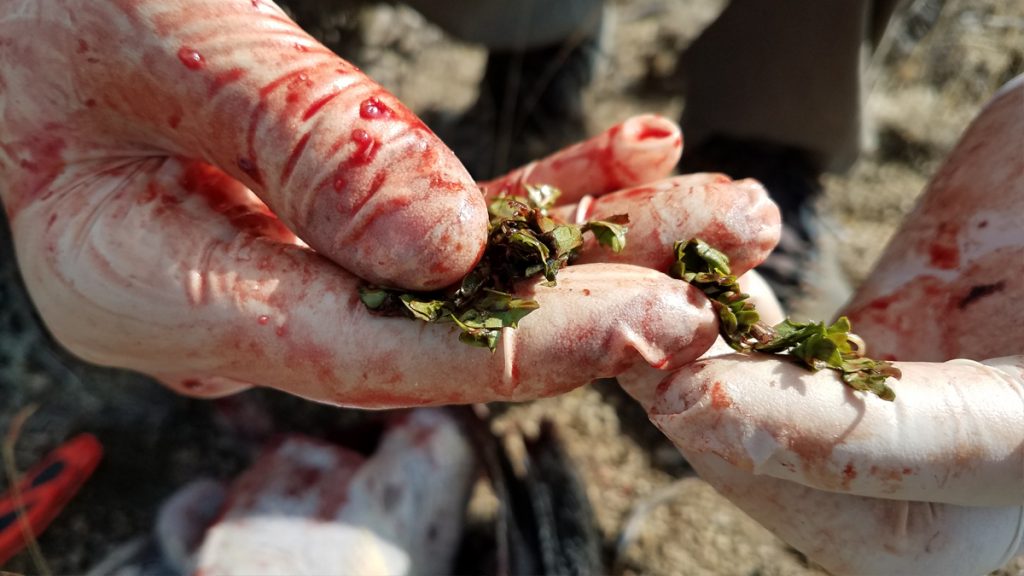
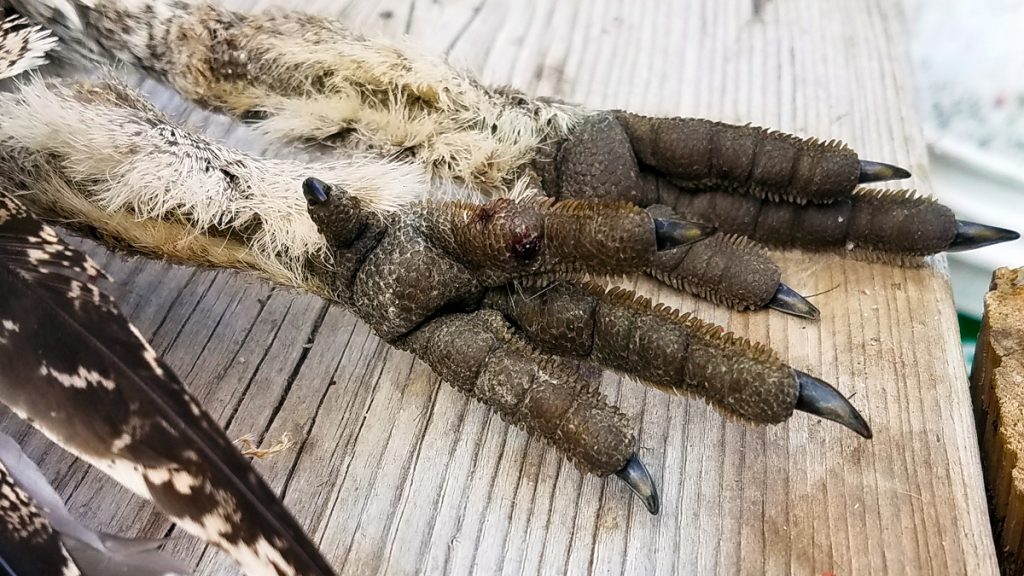
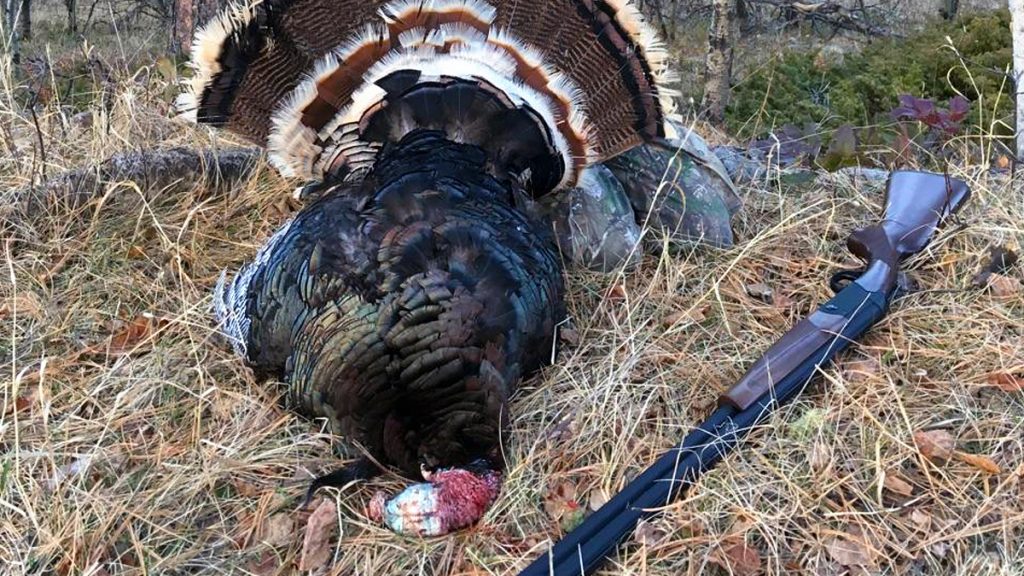
The devastation of the 6.5 Grendel on an antelope is obvious.
Sure, if you feel good about toting a beast of a rifle and some combination of skills, ego, or stupidity allow you to confidently take 600+ yard shots on animals, then this isn’t an impressive rifle build to you. However, for those looking at an accurate, light weight, ergonomic, easy to transport, easy to use, and relatively economical medium game and short to medium range hunting rifle, then this is the perfect build.
Ballistics
When zeroed to 200 yards the typical 123 grain Grendel bullet will rise from the muzzle about 1.9 inches, before dropping 3.7 inches at 250 yards and about 9 inches at 300 yards. Essentially, that means a shot aiming at the center of the boiler room, or an 8 inch kill zone, will drop an animal at any range under 250 yards with nearly 1300 foot pounds of energy.
Combining longer shots with an app, or just knowing your hold over with your specific rifle scope, and it could be an adequate rifle for 400 to 450 yard shots on medium sized animals like mule deer and antelope. Energy drops under 1000 foot pounds between 400 and 425 feet, and you can anticipate a drop of about 24 to 26 inches in that range, but again that is plenty for deer and antelope.
The 6.5 Grendel round is exceptionally accurate as it maintains supersonic stability at 1000 yards, although energy at that point is only a few hundred pounds, and is more suited to target shooting or coyotes.

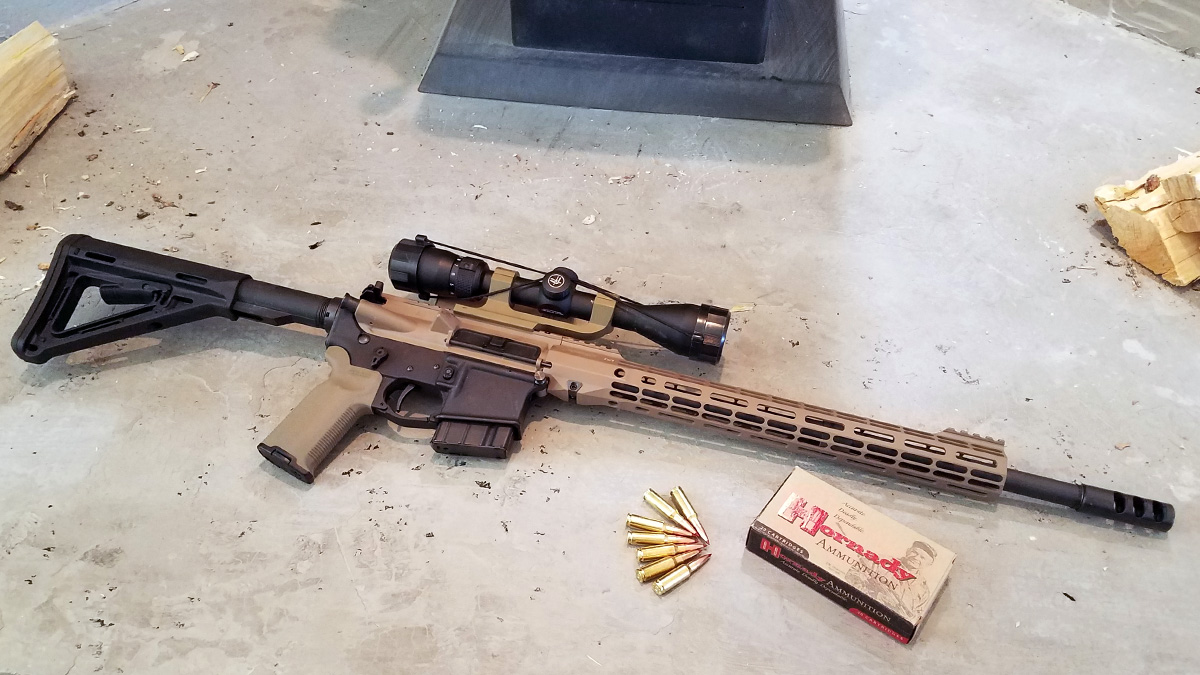
Hornady Black 6.5 Grendel Ammo.
Ammunition
Off the shelf 6.5 Grendel ammunition is on par with most common hunting rounds and is very accurate. You don’t have to get into precision hand loading to get a consistent performing round at the range and in the field.
More and more bullet options have become available, and the supply has become more abundant in the last year, post COVID ammo shitstorm.
Versatility
The ballistics of the 6.5 Grendel 123 grain bullet are not more impressive than many typical hunting rifles you may carry, but the AR platform elevates the practical nature of this round. Our AR15 style rifle includes an adjustable shoulder stock, which allows my wife to get a proper eye relief, and me to get mine when I am using it. The lighter weight platform is an advantage for carrying, and multiple sling styles and location mounts make stalking an easier task than with traditional rifle slings.
There are a plethora of optics options when it comes to the modern sporting rifle platform.
A forend can be customized with extra grip, forend stops and indexers, and even co-witnessed or canted iron sights to increase the ergonomics and short range usability of the rifle. Most AR barrels are also threaded, so adding a compensator or muzzle brake is easy. By comparison, many affordable hunting rifles still don’t have threaded barrels or iron sights, nor do they have adjustable stocks. The picatinny rail is integrated into the AR upper, meaning you’ll have a wide range of mounting options, and depending on the style of handguard, which do to its design does not place stress on the barrel like a cheap plastic stock might under stress, you’ll also have the opportunity to mount a scope or optics more forward than the upper receiver if needed.
Economics
If you already own a modern sporting rifle, you can swap uppers from predator and home defense uppers chambered in 223 or 5.56, to a 6.5 upper for hunting. A budget 6.5 upper can be purchased for as little as 250 bucks, and a higher quality build will put you back about half a grand or more. We also suggest putting a better trigger in your lower regardless of whether or not you plan to hunt, which will add between 100 and 300 bucks, and a good hunting scope like the Monstrum Cantilever Picatinny Scope Mount, and be sure to select the model that matches your scope tube diameter. (Either 30mm or 1 inch)
Also, in the world of hunting optics, there is always good, better, and best. We love all of our Vortex and Maven optics, but understand they can be cost prohibitive. Companies like Monstrum offer a good alternative to more expensive scopes, like the Monstrum G3 3-18x50 FFP Rifle Scope, which gets you in the realm of first focal plane scopes with optics that match the practical 250 yard hunting range of the Grendel setup we’ve suggested quite well.
Tags: 6.5, 6.5 Grendel, AR15, Grendel, hunting, MSR Comments